Introduction to DIY Towel Rack Projects
Taking on a DIY towel rack project can elevate your bathroom’s look and function. If you’re looking to add a personal touch or to save money, crafting your own towel rack is a rewarding endeavor. You don’t need to be a pro; with basic tools and materials, you can create a unique and practical piece. We’ll guide you through some inspiring ideas, the tools you’ll need, and the steps to make your very own towel rack. Let’s dive into the world of DIY and transform your bathroom!
 Planning Your Towel Rack Design
Before you start sawing wood or drilling holes, planning is key. A good design will make your diy towel rack not only more attractive but also more suited to your needs. Here’s how you can get started:
- Measure Your Space: First, measure the spot where you want to install the rack. Consider the rack’s length and the distance between it and other fixtures.
- Choose Your Style: Think about the overall look of your bathroom. Do you prefer a rustic, modern, or eclectic style? The rack should complement your space.
- Consider the Towel Type: Will you hang bath towels, hand towels, or both? The rack design may vary depending on the towel size and type.
- Sketch It Out: Draw a rough sketch of your design. This helps visualize the final product and guides your material selection.
- Decide on Features: Do you need shelves or hooks? Additional features can add versatility to your towel rack.
- Select the Material: Wood, metal, or something else? Choose a material that matches your design and is durable enough for bathroom conditions.
- Think About Functionality: How many towels do you need to hang? Ensure your design can accommodate them without crowding.
Your plan will steer the rest of your project. It guides what materials you buy and tools you gather. Take your time with this step. A thoughtful design means a better towel rack.
Materials and Tools Needed for a DIY Towel Rack
To start your DIY towel rack project, gather all the necessary materials and tools. This preparation ensures a smooth building process. Here’s a list to help you begin:
- Material Selection: Based on your design, choose from wood, metal, PVC, or repurposed items. Wood offers a warm, classic look while metal can give a sleek, modern feel.
- Measuring Tape: You need this to measure dimensions accurately. It’s vital for a well-fitted towel rack.
- Saw: If you’re working with wood or PVC, a saw will cut them to the required lengths.
- Drill: For creating holes for screws or assembly. Pick a drill with various bits for different materials.
- Screws and Fasteners: These will hold your towel rack together. Choose rust-resistant types for bathroom humidity.
- Level: To ensure your towel rack hangs straight on the wall.
- Sandpaper: If you’re using wood, sandpaper will smooth rough edges for a polished look.
- Paint or Stain: To finish wood, you might want paint or stain. Select ones suitable for damp environments.
- Protective Gear: Safety glasses and gloves protect you during the process.
- Optional Accessories: Think shelves or hooks for extra storage. Select styles that match your design.
With these materials and tools ready, you’re set to build your DIY towel rack. Plan each step and work carefully for the best results.
Step-by-Step Guide for Building a Wooden Towel Rack
Creating a wooden towel rack from scratch can be fulfilling and adds a custom touch to your bathroom. Follow these simple steps to build one:
- Cut the Wood to Size: Use your saw and measurements to cut the wood to the desired length.
- Sand the Edges: Smooth the cut edges with sandpaper to prevent splinters and create a clean look.
- Drill Holes: If you plan to attach the rack with screws, drill holes into the wood where needed.
- Assemble the Rack: Align all the pieces and join them using screws and fasteners. Make sure everything fits snugly.
- Check for Level: Before attaching it to the wall, use a level to ensure the towel rack is straight.
- Paint or Stain: Apply your chosen finish to the wood. Let it dry completely before installing.
- Mount the Rack: Secure the towel rack to the wall, making sure it’s firmly in place.
This step-by-step process will help you create a practical and stylish diy towel rack. Remember to wear protective gear throughout the project for safety.
Creative Towel Rack Ideas with Upcycled Materials
Using upcycled materials for your diy towel rack projects not only saves money but also gives a unique flair to your bathroom. Here are some inventive ideas that can inspire you:
- Old Window Frames: Transform an antique window frame into a towel rack. Just add hooks at the bottom and you have a vintage-style holder.
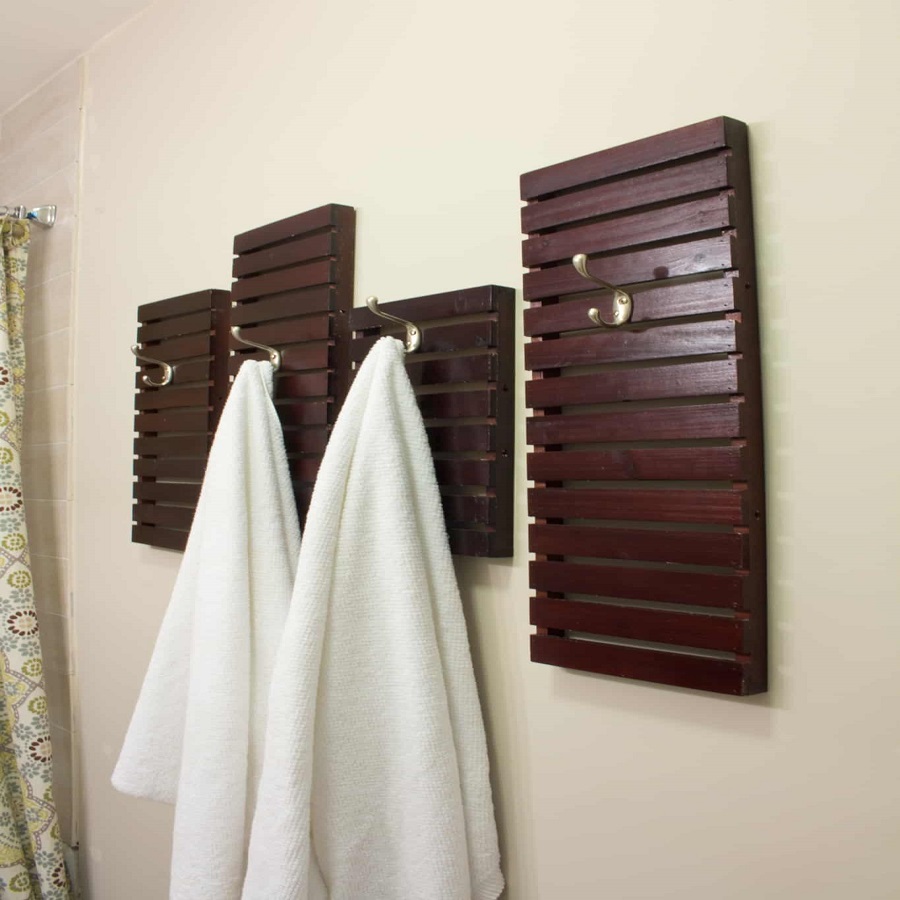
- Reclaimed Wood: Use old planks or barn wood for a rustic look. Sand them down and add your fixtures.
- Pipes and Valves: Galvanized or copper pipes make for an industrial vibe. Use valves as hooks for a quirky twist.
- Wine Racks: Convert a wine rack into a towel holder. This works great for rolling towels and storing them stylishly.
- Ladders: An old wooden ladder can serve as a multi-tier towel rack. Lean it against the wall for an immediate solution.
- Skateboards: Mount skateboards to the wall for a funky, youthful touch. This is perfect for kids’ bathrooms.
- Chair Backs: Repurpose the back of an old chair. Mount it horizontally and add hooks or bars for hanging towels.
Each of these ideas can be adapted to fit different bathroom styles and sizes. They prove that with a bit of creativity, you can create a functional and striking diy towel rack without spending much. Remember to prepare all the necessary tools and materials before starting your project, and most importantly, have fun with the process.
Minimalist Towel Rack Designs for Modern Bathrooms
Minimalism is all about simplicity and functionality. When creating a DIY towel rack with a minimalist design, aim for clean lines and an uncluttered appearance. Here are some ideas to inspire your modern bathroom project:
- Single-Bar Rack: Choose a single, sturdy bar attached to the wall for a sleek look. Use metal or polished wood.
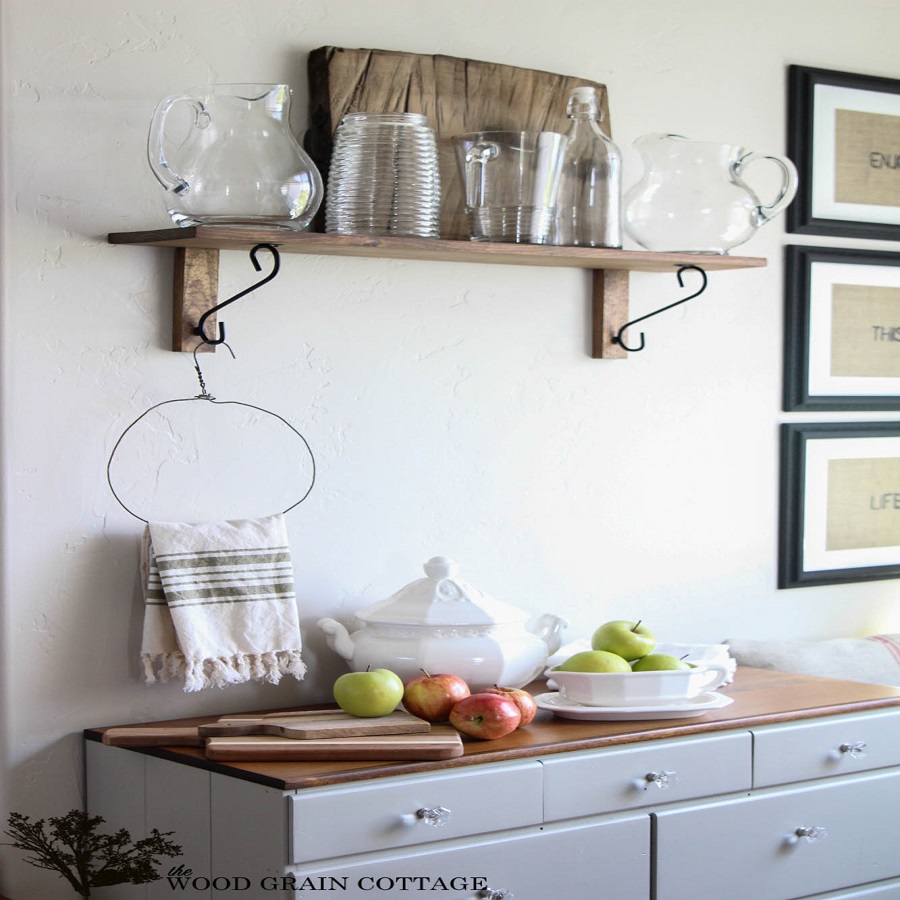
- Floating Shelf: Install a hidden bracket shelf to serve as a towel rack. It appears to float, adding to the minimalist style.
- Hidden Hooks: Place hooks behind the bathroom door or under a shelf. They stay out of sight when not in use.
- Acrylic Rod: Use a clear acrylic rod for an almost invisible look. It’s perfect for a clean, modern aesthetic.
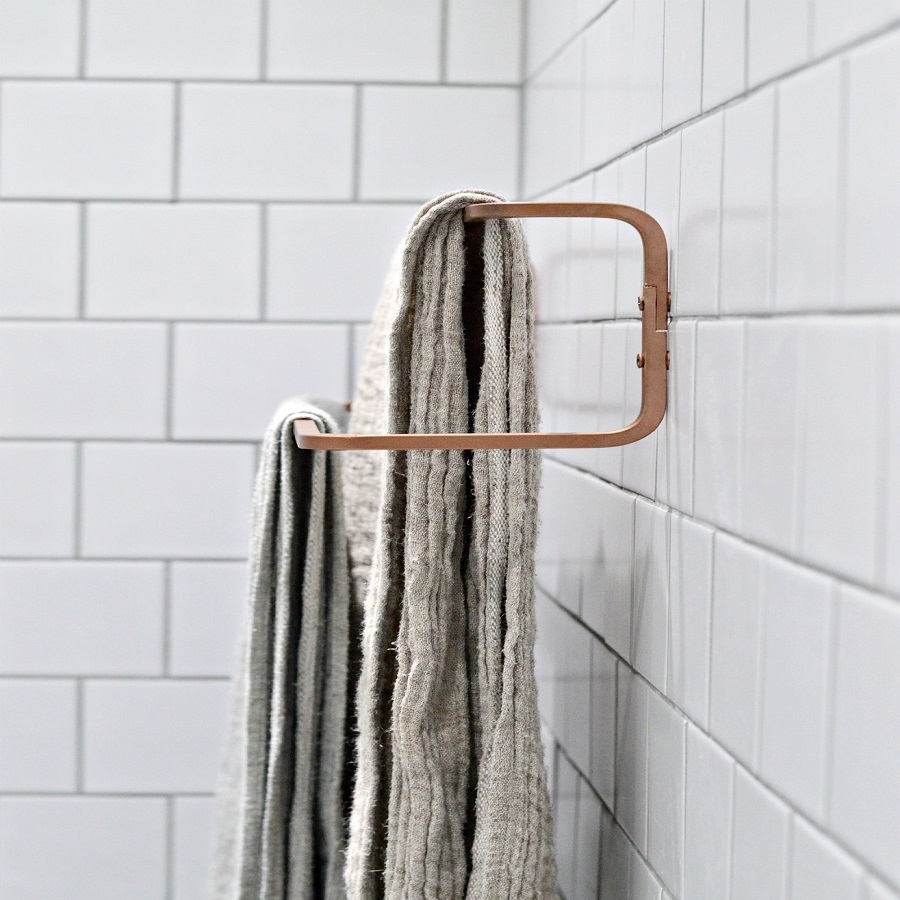
- Ring Holders: Mount simple ring holders on the wall to slip towels through. Pick geometric shapes for added elegance.
- Metallic Accents: Add a touch of sophistication with a brushed or matte metallic bar. It’s practical while keeping with the minimalist theme.
These minimalist diy towel rack options bring a modern edge to any bathroom. They blend function with a contemporary style that enhances the space without overwhelming it. Plus, they’re generally easy to install, needing just a few tools and materials.
Installing Your Homemade Towel Rack
Once you have crafted your diy towel rack, installing it properly ensures it is secure and functional. Follow these simple steps for a successful installation:
- Locate Studs: Use a stud finder to locate wall studs where you can anchor the rack.
- Mark the Wall: Hold the towel rack against the wall, marking where screws will go.
- Drill Pilot Holes: At the marks, drill pilot holes for the screws. This prevents wood from splitting.
- Secure the Rack: Align the holes in the rack with those on the wall and secure with screws.
- Tighten Screws: Make sure screws are tight so the rack stays firmly in place.
- Double-Check for Level: After mounting, check again with a level to adjust if necessary.
- Add Finishing Touches: Attach any additional features like hooks or shelves.
Your towel rack is now ready to use! Remember to handle tools with care and wear safety gear. Enjoy the added convenience and style in your bathroom.
Maintenance Tips for Your DIY Towel Rack
Before you bask in the glory of your new diy towel rack, remember that maintaining it is essential to ensure its longevity and appeal. Here’s how to keep your towel rack in tip-top shape:
- Regular Cleaning: Frequently wipe down your towel rack to prevent dust and moisture buildup. A damp cloth usually does the trick.
- Check for Stability: Periodically, make sure the rack is securely attached to the wall. Tighten any loose screws.
- Avoid Overloading: Don’t hang more towels than the rack is designed for. This prevents wear and damage.
- Inspect for Damage: Look for signs of wear, like cracks or rust, especially if the material is wood or metal. Repair them promptly.
- Refresh the Finish: Every once in a while, refresh the paint or stain to maintain a fresh look and protect the material.
- Replacement Parts: If you have hooks or bars that are damaged, replace them to keep the rack functional.
- Protect from Moisture: If your towel rack is in direct contact with water, make sure it’s properly sealed or treated.
By following these simple maintenance tips, your diy towel rack will remain an attractive and useful fixture in your bathroom for years to come.